
Embarking on Your Wooden Dumbbell Rack DIY Journey
For those passionate about lifting and a tidy exercise space, creating a bespoke wooden dumbbell rack DIY is not just a project but a necessary addition to your home gym. This guide serves as an indispensable resource in crafting a sturdy, stylish, and serviceable rack to house your weights, enhancing the accessibility and organization of your fitness area.
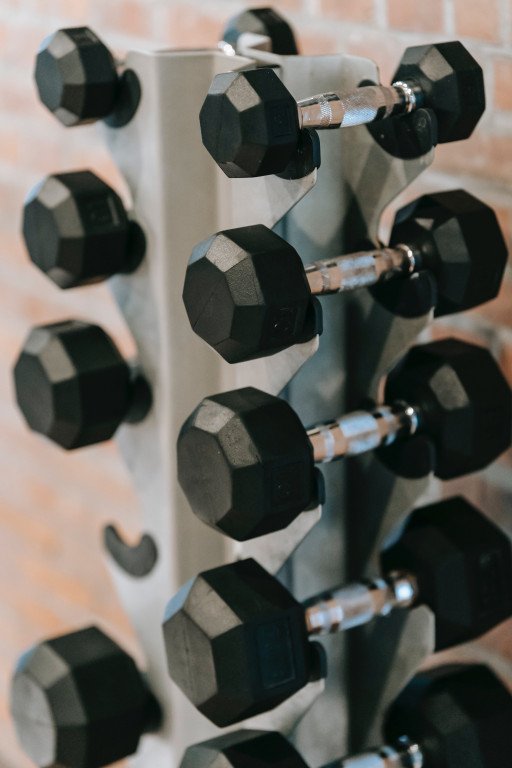
Gathering Supplies for Your Dumbbell Rack
Commencing your wooden dumbbell rack DIY endeavor requires the gathering of premier materials and appropriate tools. Essential supplies include:
- Hardwood planks (maple or oak recommended)
- Durable wood screws
- Bonding wood glue
- A selection of sandpaper grits
- Choice of wood stain or paint
Tool requirements feature:
- A reliable measuring device
- Chop saw or handsaw for precise cuts
- Powerful drill
- Sturdy screwdriver
- Secure clamps
- Efficient sander
Conceptualizing Your Tailored Dumbbell Rack
Devising a plan for your rack involves scrutinizing your gym’s space and the assortment of weights you possess. Contemplate the dimensions, shelf count, and spacing to accommodate varied dumbbell sizes, along with the decision between a flat or sloped top tier for user-friendly access.
Expert Advice: Draft a detailed blueprint inclusive of all measurements for ongoing reference.
Dimensional Woodwork for Your Rack
Transitioning from planning to production, proceed to cut the wood based on your specified dimensions. Ensure accuracy by revisiting measurements before each cut.
Cautionary Pointer: Always equip yourself with protective eyewear and adhere to safety protocols during woodworking.
Structural Assembly of Your Frame
Post cutting, initiate the frame composition by harnessing wood glue for a fortified bond, supplementing with screws for structured reinforcement. Employ clamps to maintain alignment and stability as the adhesive solidifies.
Installing Rack Shelves
The subsequent phase is affixing shelves at premeditated intervals, confirming their equilibrium prior to fastening them to the frame. Opt for a refined finish by countersinking screws and camouflaging any fissures with wood filler.
Polishing and Personalizing Your Rack
Following assembly, smoothen all wooden components, commencing with coarser sandpaper and progressing to finer granules for an exquisite finish.
Optional: Confer your rack with a personal touch by applying wood stain or paint that aligns with your gym’s aesthetic and ensures resilience against equipment abrasion.
Rack Positioning and Precautions
Strategically position your wooden dumbbell rack DIY masterpiece in your workout zone atop a level surface to mitigate tipping risks. Fasten it securely to the wall for additional firmness and precaution.
Learn more about the historical and functional significance of dumbbells in training regimes.
Upholding Your Dumbbell Rack
Meticulous care of your rack guarantees its longevity. Periodically inspect for any wear or looseness and perform cleaning to preserve both its appearance and structural integrity.
Epilogue: Relishing in Your Artisanal Gym Storage
This thorough walkthrough has empowered you to manifest a customized wooden dumbbell rack DIY solution. The fruition of your labor, a mix of utility and sophistication, will now be a point of pride each time you select a weight.